After I basted the stems for the April block, I realized I had a number of pieces that were left over, too short for an actual stem, but thinking they would work for another block that is coming up. I also had thrown away even shorter pieces.
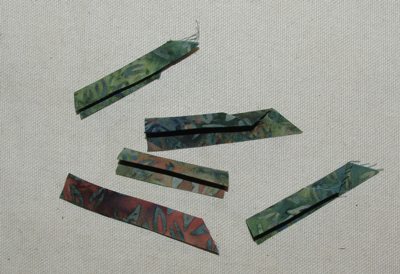 Then I thought, well maybe these won’t be the right size for the upcoming blocks either! If there is anything I hate is throwing or wasting pieces of expensive fabric, batiks are getting a little pricey, so I plan to sew the bias strips together for the remaining blocks and just cut off what is needed for each block. These steps will go into the base block as well, but just thought I would show them here, too, so that everyone sees them or at least I hope they do!
You don’t have to fold and press the whole thing at once, just what you need for each block. Just sew a few strips together at a time, adding to the leftover strip as you go along with the applique.
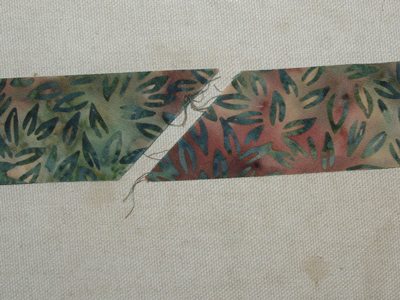 Bring two diagonal ends together, right sides up. The cuts must be parallel, if they aren’t turn the strip around. If you are working with batik fabric, chances are that you can just turn the fabric over and it will be the same on the “wrong” side. The other choice is to trim the end of one strip at a 45° angle so it is parallel to the other one.
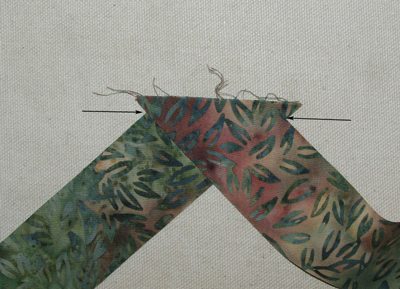 Lay one strip on top of the other, right sides together, match the straight edges and offset them, so there is a protrusion on both sides. Where the indentation is should be about 1/4″ from the straight edge. This does not have to be absolutely perfect, the point is to sew from indentation to indentation.
 I used white thread so you could see the seam, but I suggest you use a thread that matches your fabric more closely. I used a tiny stitch length, but it still shows.
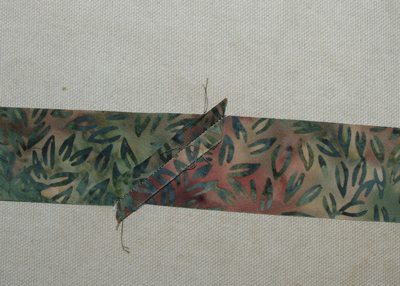 Press the seam open and trim the protruding points even with the edge of the bias.
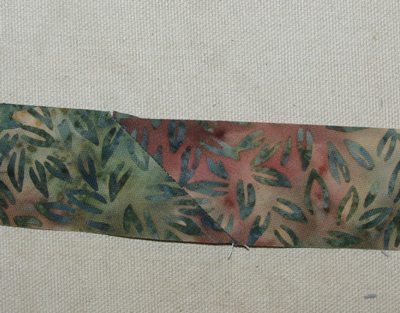 When it is folded for the stem, the seams will not be that noticeable AND you won’t be wasting the fabric.
It really doesn’t take that long to sew the pieces together.